
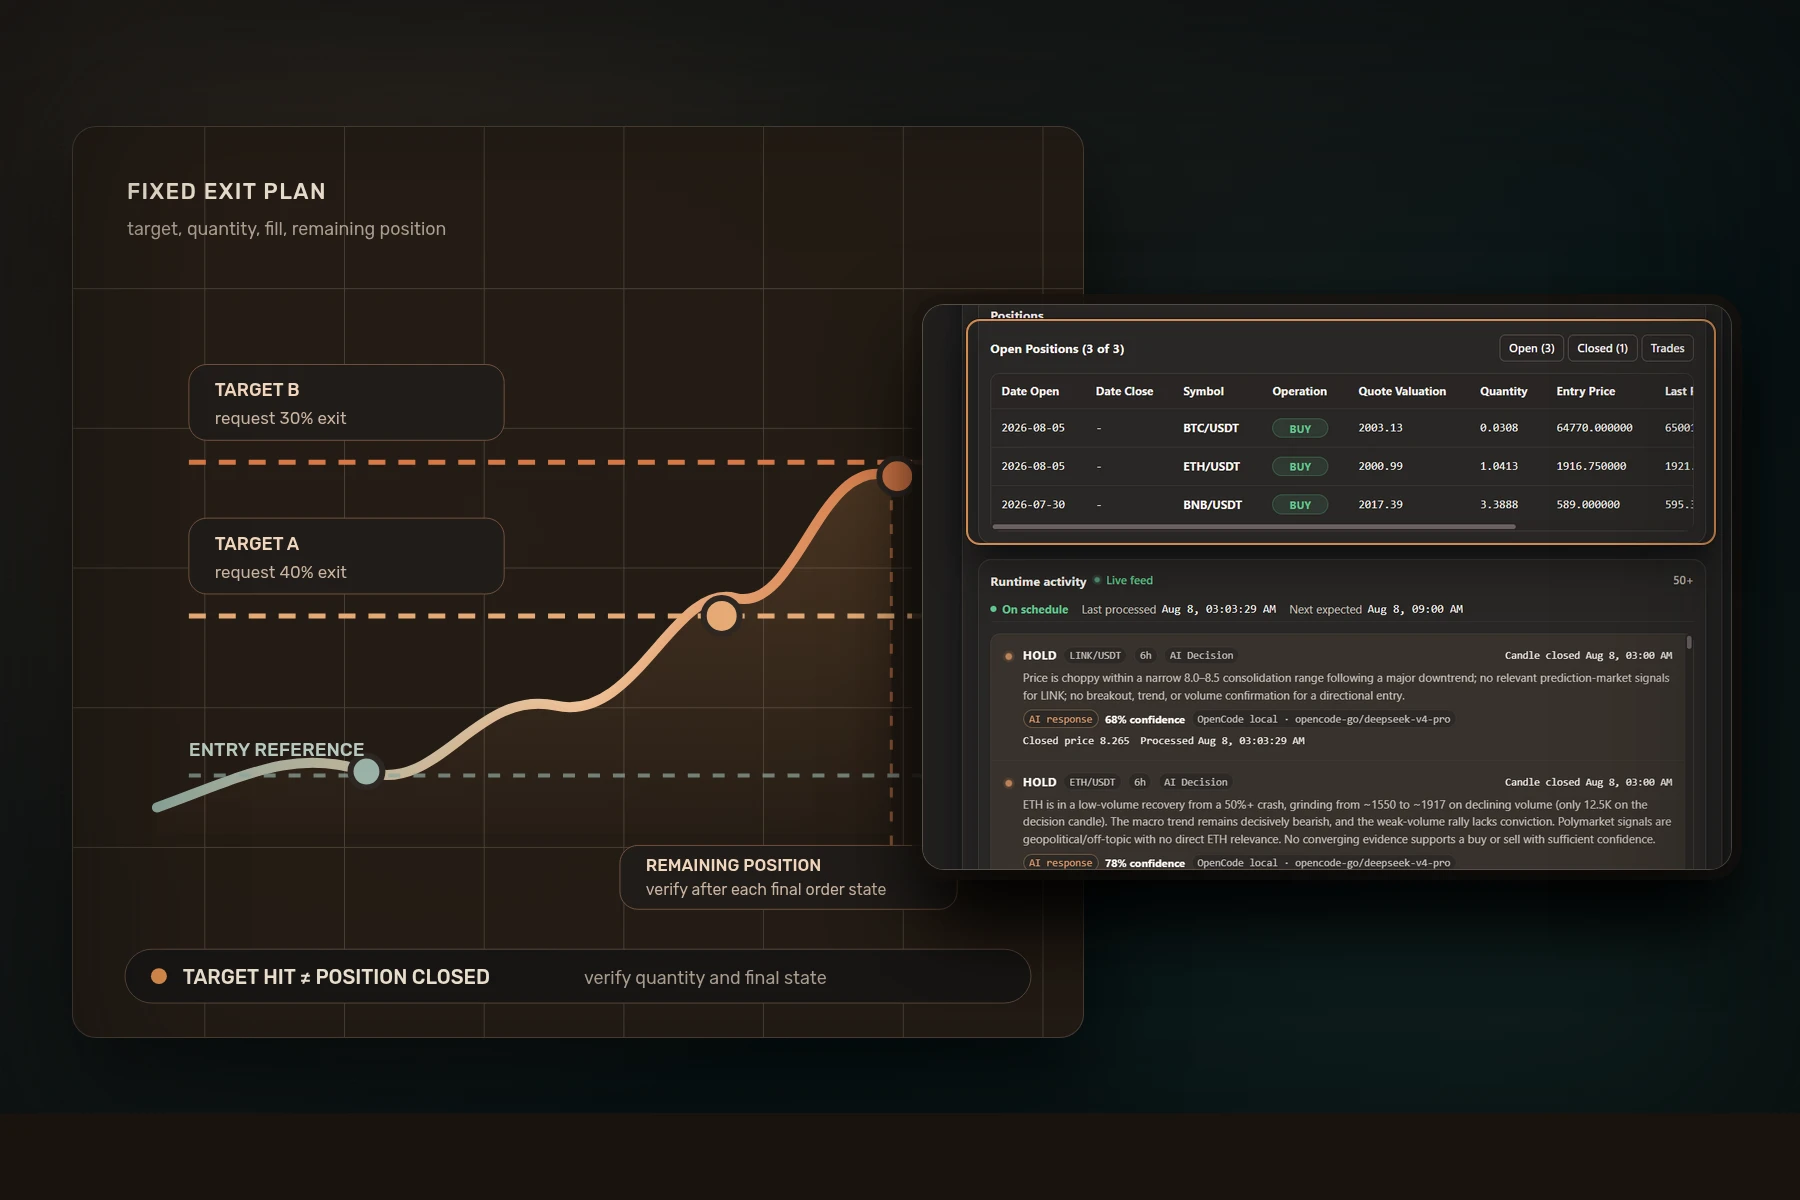
A crypto trading bot take profit rule defines when favorable price movement should prompt a partial or full exit. It does not guarantee that an order fills, that the fill matches the target, or that the trade ends profitably after fees. Before testing the rule, write down the target reference, distance, quantity to close, order instruction, state that confirms completion, and recovery behavior when an exit is rejected or only partly filled.
The useful distinction is simple: a target can be observed while the position remains open. The rule is complete only when the resulting order and remaining exposure are accounted for.
How a crypto trading bot take profit rule works
A fixed take-profit rule usually compares a selected price signal with a level derived from entry or another documented reference. When the condition is met, the strategy requests an exit according to its configured instruction. That creates four separate states:
- Target condition: the selected price signal reaches the planned level.
- Exit request: the strategy submits or activates the intended order.
- Execution: the venue fills all, some, or none of the requested quantity.
- Position state: the operator verifies what quantity remains open after the order reaches a final state.
Do not collapse these into one event. A chart touching a line is not evidence that an order closed the intended quantity.
Define five decisions before you test
1. Target reference
State what the target is measured from. It might be the average entry price, a specific signal price, or another strategy-defined reference. Also state which observation tests the condition: last trade, mark price, bid, ask, candle close, or an engine-specific value. Different choices can produce different triggers.
2. Exit quantity
Decide whether one target should close the entire position or reduce a fixed amount or percentage. For several targets, the quantities must add up to no more than the position that can actually be closed. Specify how rounding, minimum order sizes, and partial entry fills affect the calculation.
3. Exit instruction
The target condition and the order type are different decisions. A market-style exit prioritizes execution but not an exact price. A limit-style exit sets a price boundary but can remain open or fill only partly. The Gimmer comparison of market and limit order tradeoffs explains why the instruction must be evaluated separately from the signal.
4. Remaining-position rule
If only part of the position exits, define what protects or manages the remainder. It may keep the original stop, move to another documented rule, follow a separate trailing-exit contract, or wait for another target. Do not invent the next rule after seeing the historical result.
5. Failure and recovery
Write what happens after a rejection, cancellation, timeout, stale price, partial fill, or position mismatch. A blind retry can duplicate an exit request. Recovery should first reconcile the venue order and position state, then decide whether a new instruction is still needed.
Fixed target versus trailing exit
| Question | Fixed take-profit target | Trailing exit |
|---|---|---|
| What moves the reference? | Usually nothing after the target is set | New favorable observations after activation |
| What must be defined? | Reference, level, quantity, trigger, and order | Activation, high-water mark, distance, trigger, and order |
| What remains to verify? | Fill status and remaining position | Fill status and remaining position |
A fixed target is easier to describe, but it still depends on real execution. A trailing exit adapts its reference, but adds activation and path-dependency questions. Neither replaces position sizing, stop rules, cost assumptions, or order monitoring.
A worked partial-exit example
Assume a position contains 10 units at an entry reference of 100. The plan requests an exit of 4 units at target A, 108, and 3 units at target B, 115. The final 3 units remain under a separately written exit rule. These are invented round numbers for arithmetic only, not market data, Gimmer output, venue output, or a recommendation.
| Observed state | Requested action | What must be verified |
|---|---|---|
| Target A condition at 108 | Request exit for 4 units | Filled quantity and 6-unit remainder |
| Target B condition at 115 | Request exit for 3 units | Filled quantity and 3-unit remainder |
| Either order is partial or rejected | Reconcile before retrying | Actual open orders and actual remaining position |
If price crosses both targets inside one candle, historical OHLCV may not reveal the exact sequence or available liquidity. The backtest needs an explicit ordering and fill model. Choosing the most favorable sequence after the result is visible introduces bias.
Backtest the path between target and close
A useful historical test records more than the target percentage. Include:
- the target reference, price signal, and evaluation frequency;
- the quantity assigned to every exit level;
- the order instruction, time in force, and cancellation rule;
- fees, spread, slippage, and rounding assumptions;
- partial-fill, rejection, timeout, and retry behavior;
- the rule for the position that remains after each exit;
- the intrabar ordering model when one candle crosses several levels.
Read the separate Gimmer guide to crypto trading bot fees in backtests before interpreting the distance between entry and target as a net result.
Coinbase’s official Advanced Trade order-type documentation shows one venue-specific take-profit and stop-loss contract, including activation and partial-fill behavior. Use it only as an example of why current venue rules matter. It does not imply that Gimmer supports Coinbase or reproduces that contract.
Use the rule as one layer in Gimmer
Gimmer’s public Risk Controls guide separates risk logic from actual execution and tells operators to monitor the order and position until the exposure is closed. The Running Backtest guide asks for a saved strategy revision, realistic costs, and a final run state before the report is interpreted.
Before any later real-market consideration, use the Simulation and Live guide to review positions, orders, and final execution status. Verify the current app, strategy engine, market, and venue before assuming that any multi-target or order behavior is available.
Take-profit checklist
- Name the target reference and price signal.
- Assign an exit quantity to every target.
- Choose the order instruction and time-in-force rule.
- Define how rounding and minimum order sizes affect quantity.
- Model fees, spread, slippage, gaps, and partial fills.
- Write the rule for the remaining position.
- Reconcile rejected, cancelled, or timed-out orders before retrying.
- Verify the final order and position state after every target.
Frequently asked questions
Does a take-profit target guarantee a fill at that price?
No. The target defines an exit condition. The resulting order can fill at a different price, fill only partly, remain open, be cancelled, or be rejected depending on the instruction and market conditions.
Can a crypto trading bot use several take-profit targets?
Some strategies and venues can express several exit levels, but availability and behavior vary. Verify the current app and venue contract. If several targets are used, the exit quantities and remaining-position rule must be explicit.
Is a fixed take-profit target better than a trailing exit?
Neither is universally better. They encode different exit logic. Compare them with the same entry rule, costs, data period, position size, and execution assumptions, then inspect the full distribution of outcomes rather than only the best run.
Conclusion
A take-profit rule becomes testable when target, quantity, order, remaining position, and recovery are separate written decisions. Open Gimmer’s Risk Controls guide, record one target and remaining-position rule, and test that locked revision in a bounded historical run before considering simulation.