
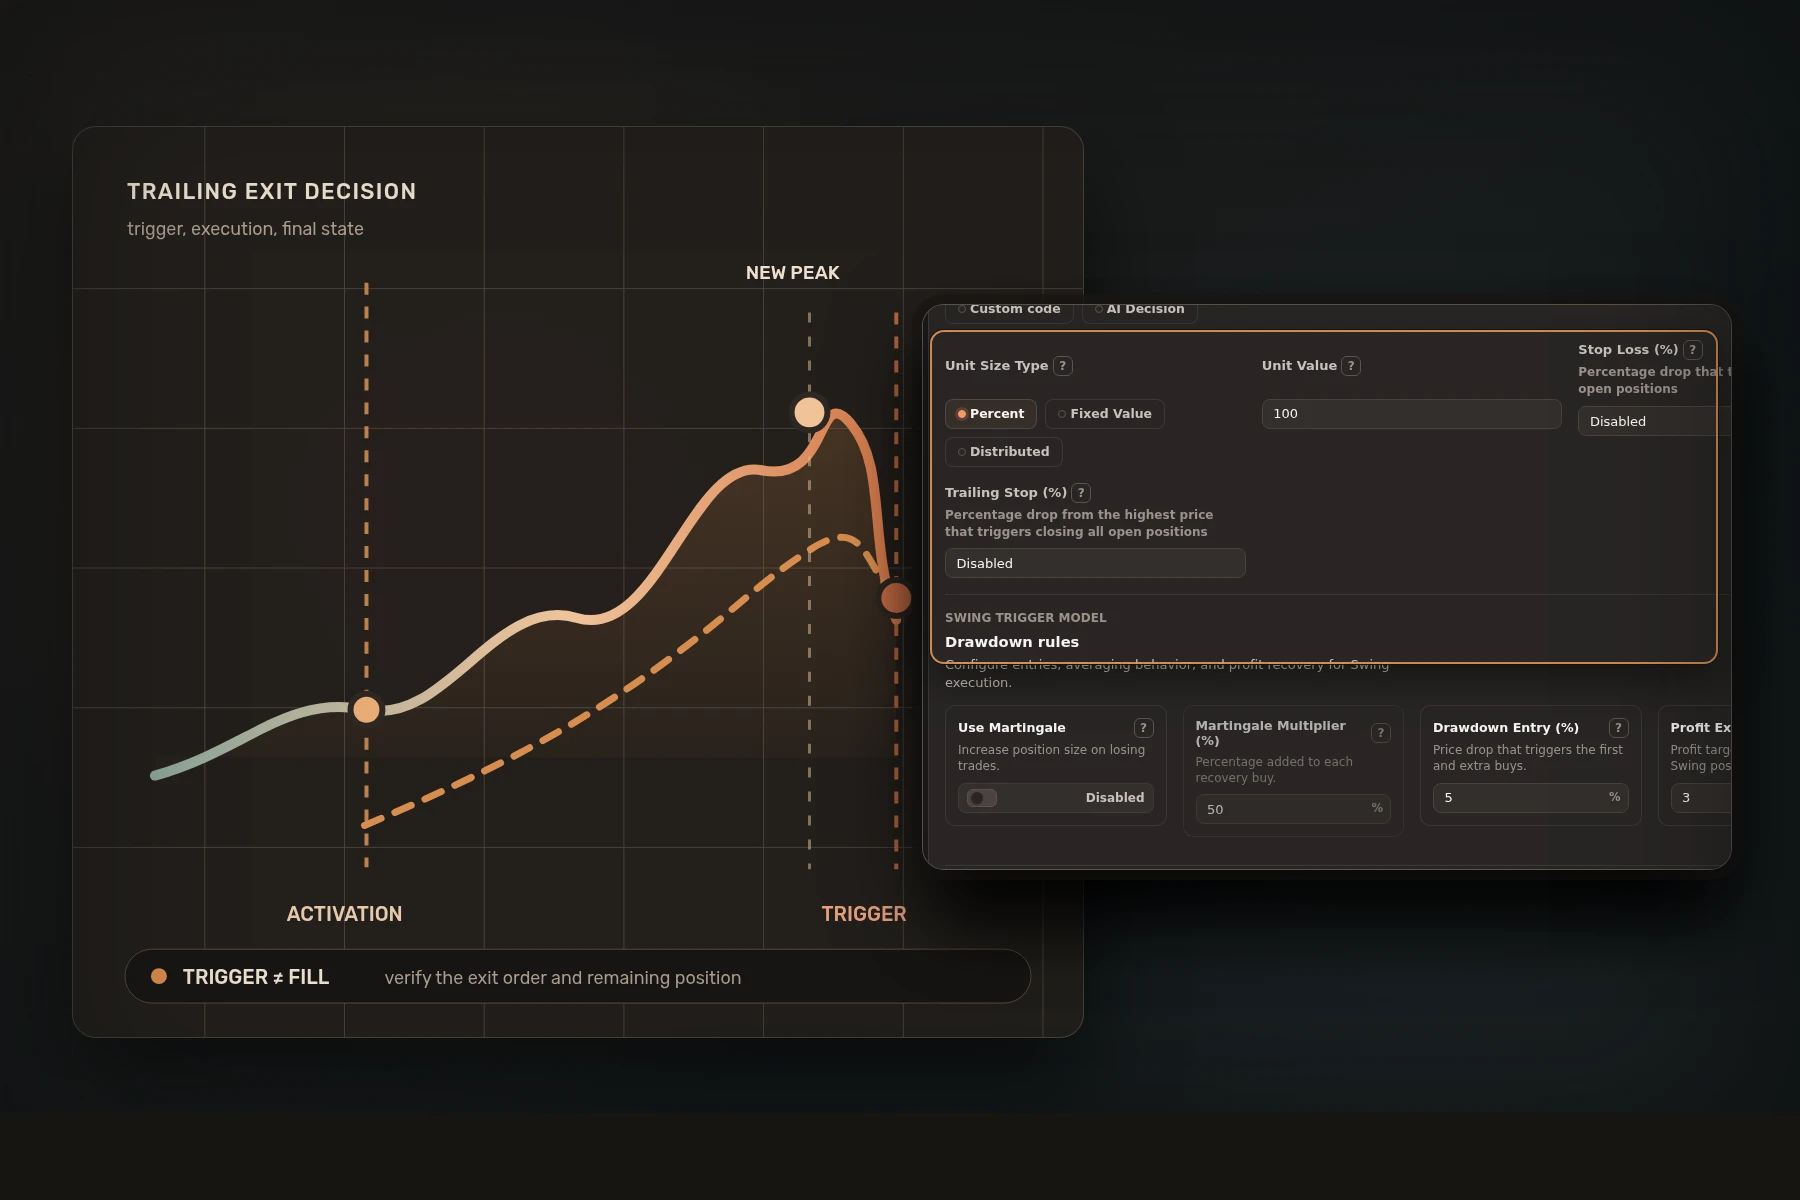
A crypto trading bot trailing stop moves an exit reference behind favorable price movement. It can help a strategy respond when price retreats from a later peak, but it does not guarantee an execution price or cap the final loss. Before testing one, define six things: activation, trailing distance, price signal, exit instruction, recovery rule, and the order state that proves the position actually closed.
That separation matters. A trigger is a decision to request an exit. A fill is the venue’s response under the liquidity, permissions, connectivity, and order conditions available at that moment.
How a crypto trading bot trailing stop moves
A fixed stop usually stays at a chosen distance from an entry or another reference price. A trailing stop updates its reference after favorable movement. For a long position, the common educational model looks like this:
- Wait for activation. The trailing rule may start immediately or only after price reaches a stated favorable threshold.
- Record a high-water mark. After activation, a new observed high moves the reference upward.
- Calculate the trail. The trigger reference sits a configured distance below that high.
- Request an exit after a retreat. When the chosen price signal crosses the reference, the strategy submits or activates its exit instruction.
- Verify the result. The operator follows the order until it is filled, partially filled, cancelled, rejected, or otherwise reaches a final state.
This is a model, not a universal venue contract. Some venues trigger stop orders from the last trade price, while others expose different trigger signals, relative-price rules, or separate trailing-stop and trailing-stop-limit instructions. Read the selected venue’s current order documentation before mapping a strategy rule to an order.
Define the six decisions before you test
1. Activation threshold
Does the trail monitor from entry, or only after a favorable move? Delayed activation can keep the trailing rule inactive during the first part of a trade. Write the threshold down explicitly, including the reference used to calculate it.
2. Trailing distance
A tight trail can react to ordinary market noise. A wider trail allows more movement before triggering, but it can also return more open gain before the exit request. The distance is not meaningful without the market, timeframe, volatility regime, and position size around it.
3. Price signal and update frequency
Which observation updates the high-water mark, and which one tests the retreat? Possible inputs include last trade, mark price, bid, ask, candle close, or an engine-specific value. The choice can change the result. So can evaluation frequency: tick-by-tick logic and candle-close logic do not see the same path.
4. Exit instruction
What happens after the trigger: a market order, a limit order, a stop-limit order, or another supported instruction? A faster instruction can trade price certainty for execution urgency. A price-bounded instruction can remain unfilled. The recent Gimmer comparison of market and limit order tradeoffs explains why the instruction must be evaluated separately from the signal.
5. Recovery and re-entry
After an exit, can the strategy enter again immediately, wait for a new signal, or pause for a defined time? Without a recovery rule, a choppy market can repeatedly trigger exits and entries. That can change exposure and costs even when the entry logic itself has not changed.
6. Final-state verification
Do not treat “triggered” or “submitted” as “closed.” Track the order and remaining position. If it is rejected, partially filled, cancelled, or delayed, the original exposure may still exist. A manual recovery path also needs to be known before the strategy is put under real market conditions.
A worked trailing-stop example
Assume a long position enters at 100. The trailing rule activates after a 4% favorable move and trails the highest observed price by 3%. These are invented round numbers for arithmetic only, not market data, Gimmer data, or a recommendation.
| Observed price | Rule state | Trail reference |
|---|---|---|
| 102 | Not active | None |
| 104 | Activation reached | 100.88 |
| 110 | New high-water mark | 106.70 |
| 108 | Still above trail | 106.70 |
| 106.50 | Exit condition observed | Exit request, then verify order state |
The reference at a high of 110 is 110 × (1 - 0.03) = 106.70. The exit request may occur after the chosen signal reaches or passes that level. The final execution can still differ because of gaps, slippage, liquidity, latency, exchange availability, permissions, rejection, or the selected order instruction.
Fixed stop versus trailing stop
| Question | Fixed stop | Trailing stop |
|---|---|---|
| What moves the reference? | Usually nothing after the initial rule is set | New favorable price observations after activation |
| What must be defined? | Base reference, distance, trigger, and exit | Activation, high-water mark, distance, trigger, and exit |
| What can go wrong? | Gap, slippage, rejection, stale state, or no fill | The same execution failures, plus an unclear activation or update rule |
| Does it guarantee a loss limit? | No | No |
These controls solve different rule-design problems. Neither replaces position sizing, total exposure limits, cost assumptions, order monitoring, or a recovery procedure.
What the backtest must record
A historical test is useful only when the rule can be reconstructed. Record at least:
- the entry reference and activation threshold;
- the trailing distance and whether it is a percentage or fixed value;
- the price signal that updates the peak and tests the trigger;
- the evaluation frequency and candle-completion rule;
- the exit instruction and fill model;
- fees, spread, slippage, and any other relevant costs;
- partial-fill, rejection, retry, and recovery behavior;
- the re-entry rule after the exit.
OHLCV candles can show that a bar’s high and low crossed several levels, but they may not reveal the exact order of those moves within the bar. If the result depends on whether activation happened before the retreat, document how the engine resolves that uncertainty. Then read costs with the separate guide to crypto trading bot fees in backtests.
Use the control as one layer in Gimmer
Gimmer’s public Risk Controls guide treats position sizing, stop loss, trailing exits, exposure limits, and simulation as layers, not guarantees. It also tells operators to keep monitoring the actual order and position state after risk logic requests a close.
Use the Running Backtest guide to keep the strategy revision, historical period, and report-reading sequence explicit. Before any real-market consideration, use the Simulation and Live guide to separate controlled simulation from live operation.
For venue contracts, Coinbase’s official Advanced Trade order-management guide documents a named last-trade trigger model for its stop orders. Kraken’s official Add Order reference exposes separate trailing-stop and trailing-stop-limit types with their own price fields. These examples show why a strategy rule must be checked against the selected venue. They do not imply that Gimmer supports either venue or reproduces either contract.
Trailing-stop checklist
- Write the activation threshold and its reference.
- Write the trailing distance and high-water-mark rule.
- Name the price signal and evaluation frequency.
- Name the exit instruction and fill assumptions.
- Define rejection, partial-fill, retry, and manual recovery behavior.
- Define the re-entry rule after an exit.
- Backtest the locked revision across more than one market regime.
- Confirm the final order and position state instead of stopping at the trigger.
Frequently asked questions
Does a trailing stop guarantee a sell price?
No. It defines when an exit should be requested or activated under the selected rule. The final price depends on the order type and real execution conditions.
Is a tighter trailing distance always safer?
No. A tighter distance can trigger more often during ordinary volatility. Safety depends on position size, total exposure, market behavior, execution, recovery, and monitoring, not the trail percentage alone.
Should a backtest evaluate the trail from candle highs, lows, or closes?
Use the rule the strategy engine actually implements and document it. If historical bars cannot reveal the intrabar sequence, treat that as a model limitation rather than choosing the most favorable path after seeing the result.
Conclusion
A trailing stop becomes testable when activation, movement, trigger, execution, recovery, and verification are separate written rules. Open Gimmer’s Risk Controls guide, record those six decisions, and test one locked strategy revision in a bounded historical run before considering simulation.