
Before you add or remove liquidity in Gimmer, open Provide Liquidity and read the route in the order it already suggests: compare the current pool signals first, inspect Your liquidity activity, then use Best practices for LPs and How to read pool data before you confirm a position change.
Start With The Current Pool Signals, Not With One Attractive Number
The easiest way to weaken a liquidity decision is to let one flattering number do all the work. The current Provide Liquidity route gives you a broader reading surface than that, and the safer habit is to use it.
Start with the selected pool detail and compare the visible signals together: Estimated APR, TVL, 24h Volume, Fees, and Fee Tier. Then look at the surrounding context the route keeps nearby: the visible Updated time, the volatility chip, the IL chip, and the Price snapshot label.
That reading order matters because each of those labels is current route evidence, not a forecast. A displayed APR can help you compare pools, but it does not promise what happens after you add liquidity. The same is true for TVL, fee tier, volatility, and impermanent-loss context. They help you inspect what the route exposes now before you change a position.
If you need to verify the on-chain target before going further, the same detail surface also exposes a visible Contract label and copy action. Use the route to slow the decision down before the deposit form becomes the center of attention.
Use Your Liquidity Activity As A Recent-State Check
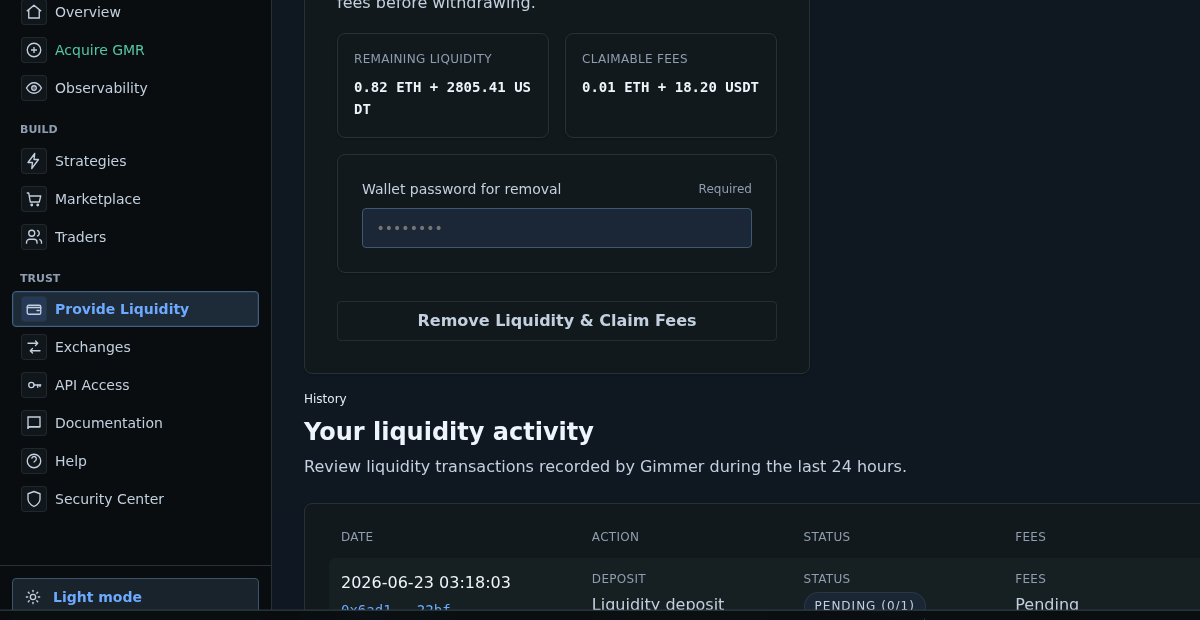
Once the pool detail looks worth deeper review, keep moving down the page to Your liquidity activity. This section gives you a recent transaction check before you make the next change.
The visible table is practical because it keeps the most useful questions in one place: when the last action happened, what the action was, what Status it currently shows, and what the visible Fees field says. If you just added liquidity, removed liquidity, or retried a transaction, this is where you should confirm the current route state before you act again.
Just keep the scope honest. The section subtitle says it covers liquidity transactions recorded by Gimmer during the last 24 hours. Read it as a recent-state surface, not as a complete historical ledger. If the route shows No liquidity transactions in the last 24 hours., that is still useful context before a new action.
The same caution applies to transaction state wording. A visible status helps you review what the route currently records. It should not be read as a promise that a future liquidity action will settle the same way.
Keep The Guardrails And Glossary In The Same Pass
The route is strongest when you do not stop at the metrics and activity table. Keep going into Best practices for LPs and How to read pool data before you decide whether to change the position.
Best practices for LPs keeps three risk labels visible in one place: Impermanent loss, Fees and gas, and Diversification. How to read pool data keeps the route’s own definitions for Estimated APR, TVL, Fee tier, and Volatility nearby.
That structure is useful because it prevents the comparison signals from standing alone. The route does not just show opportunity labels; it keeps caution and interpretation beside them. Use that structure. If range selection still feels unclear, follow the Need help defining the range? callout and use Open documentation before you submit anything.
A Practical Reading Routine Before You Change A Position
A short routine keeps the route useful without turning it into a promise surface:
- Open Provide Liquidity and compare the selected pool’s visible metrics instead of anchoring on APR alone.
- Check the Updated label, volatility chip, IL chip, and Price snapshot before you treat the pool as ready for action.
- Review Your liquidity activity and read the visible Date, Action, Status, and Fees fields before you add or remove liquidity again.
- Remember that the activity table is a last-24-hours view, not a complete liquidity ledger.
- Read Best practices for LPs and How to read pool data before you treat the visible signals as enough on their own.
- If the range still feels unclear, use Open documentation before you confirm the next action.
Final Thoughts
The value of Gimmer’s current liquidity route is not that it tells you which pool will perform best. The value is that it gives you one place to compare current pool signals, inspect recent liquidity activity, and keep the route’s own risk and glossary language in view before you change a position.
That is the right public framing for this surface. Read the current evidence first. Let the route slow you down. Treat displayed metrics, visible status labels, and LP guidance as review inputs before an action, not as a guarantee about what comes next.
Open Gimmer, go to Provide Liquidity, review the selected pool’s volatility and IL chips, inspect Your liquidity activity plus the visible Status and Fees columns, read Best practices for LPs and How to read pool data, then decide whether to add liquidity, remove liquidity, or open documentation before you act.
— The Gimmer Team